Step 1: Create a promo. If you have a pdf or document of your press release, you can upload it here as an attachment. Up to two images uploaded into your promo can be used in your email (near the top and one near the bottom).
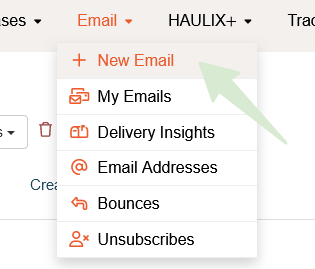
Step 2: Schedule a new email. Do this by hovering over Email, and selecting + New Email from the menu. Step 3: Select the promo that you created and click NEXT.
Step 4: Select the contacts that you want to send the press release to. You can choose contacts from the displayed list, select by group, and search for specific individuals. Once your contacts have been chosen, click Next.
Step 5: Fill out email details. Put the subject of the press release in SUBJECT, and put the press release text in the INTRODUCTION section.
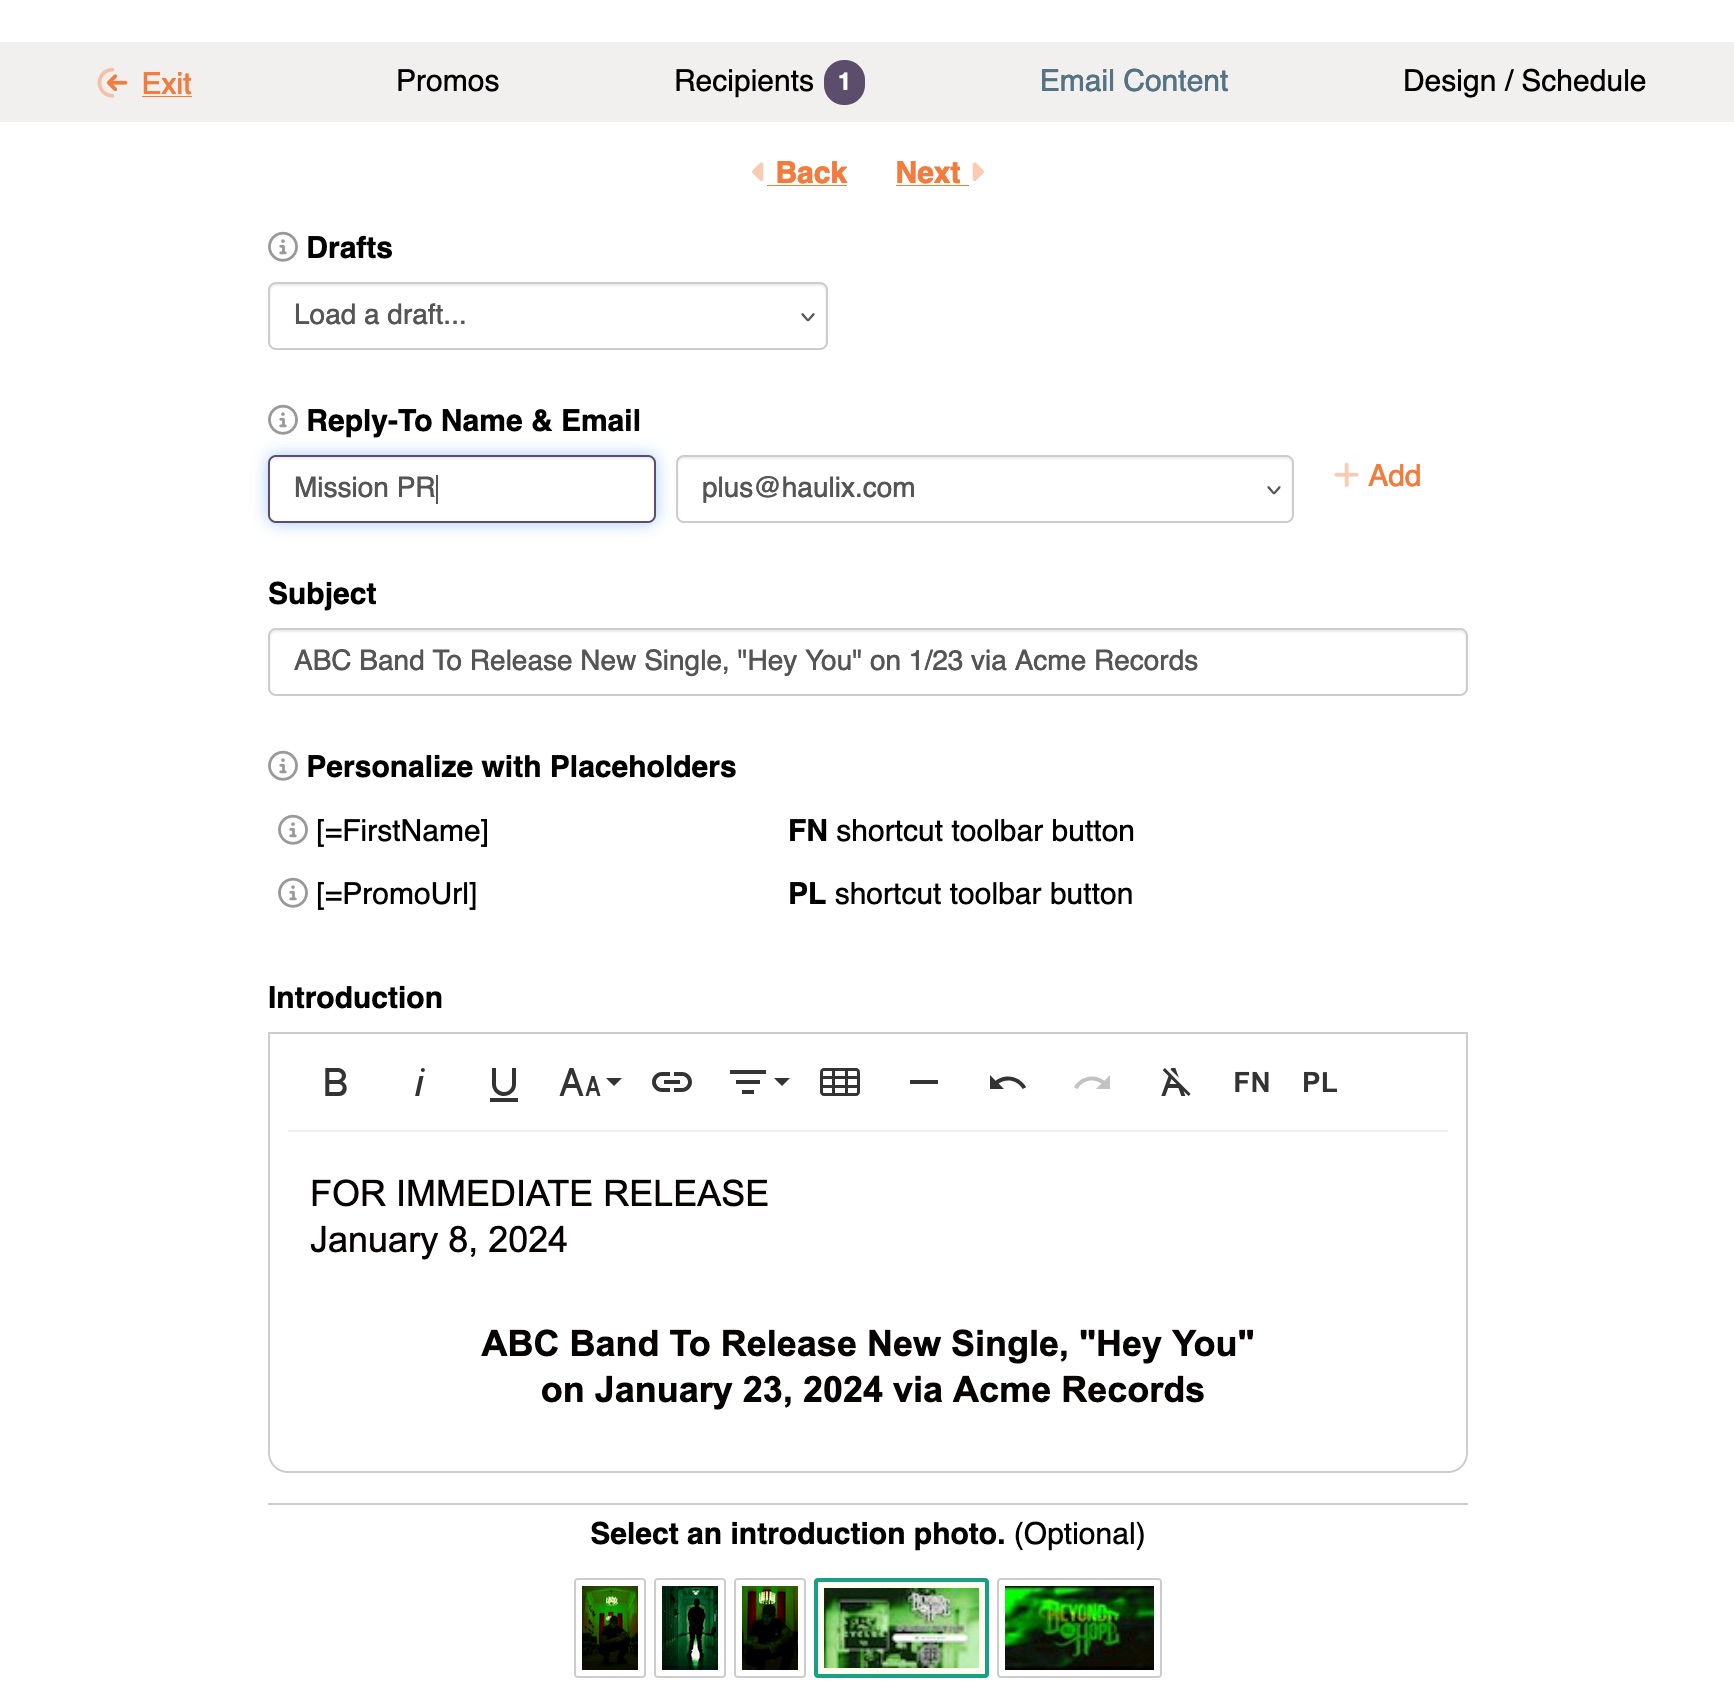
Note: Be mindful of any text listed in both your promo description and your press release that you only want displayed once (contact information, links, etc).
Step 6: In the last step, optionally select a pre-saved design template or create a new one -- this is where you can upload a custom header image that will go up top of your email introduction.
Then select if you would like your email to get sent right away or schedule a date and time.
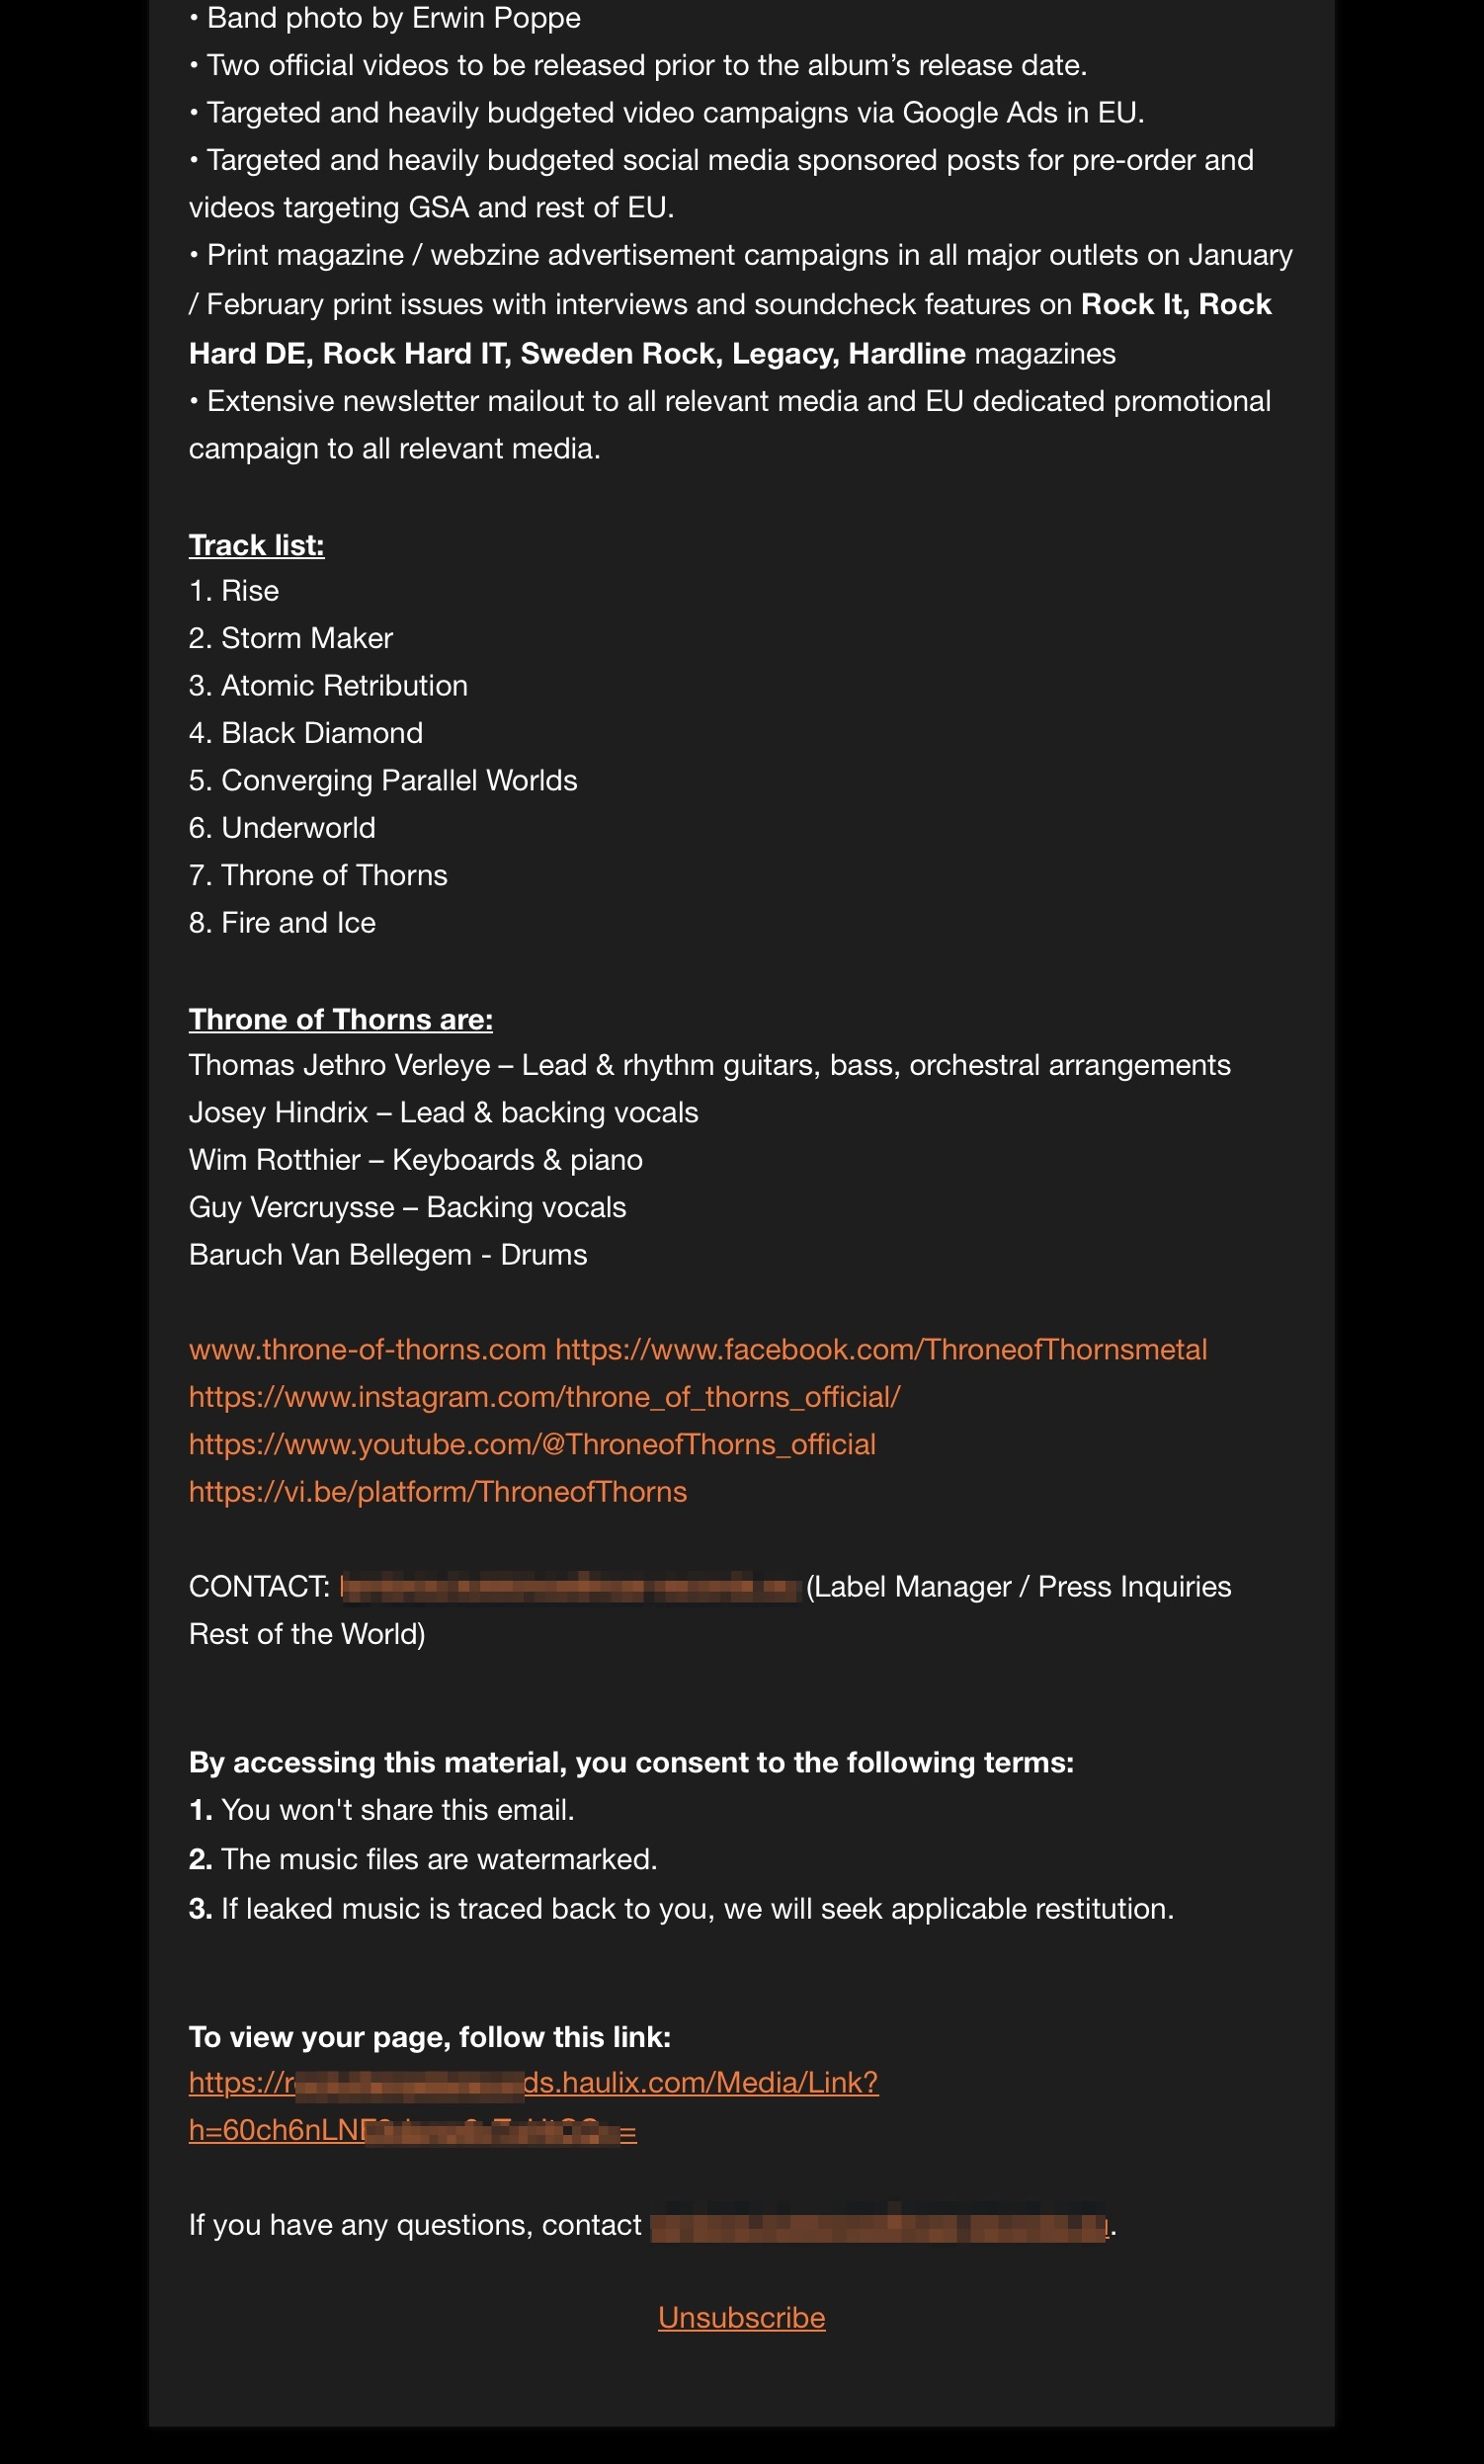
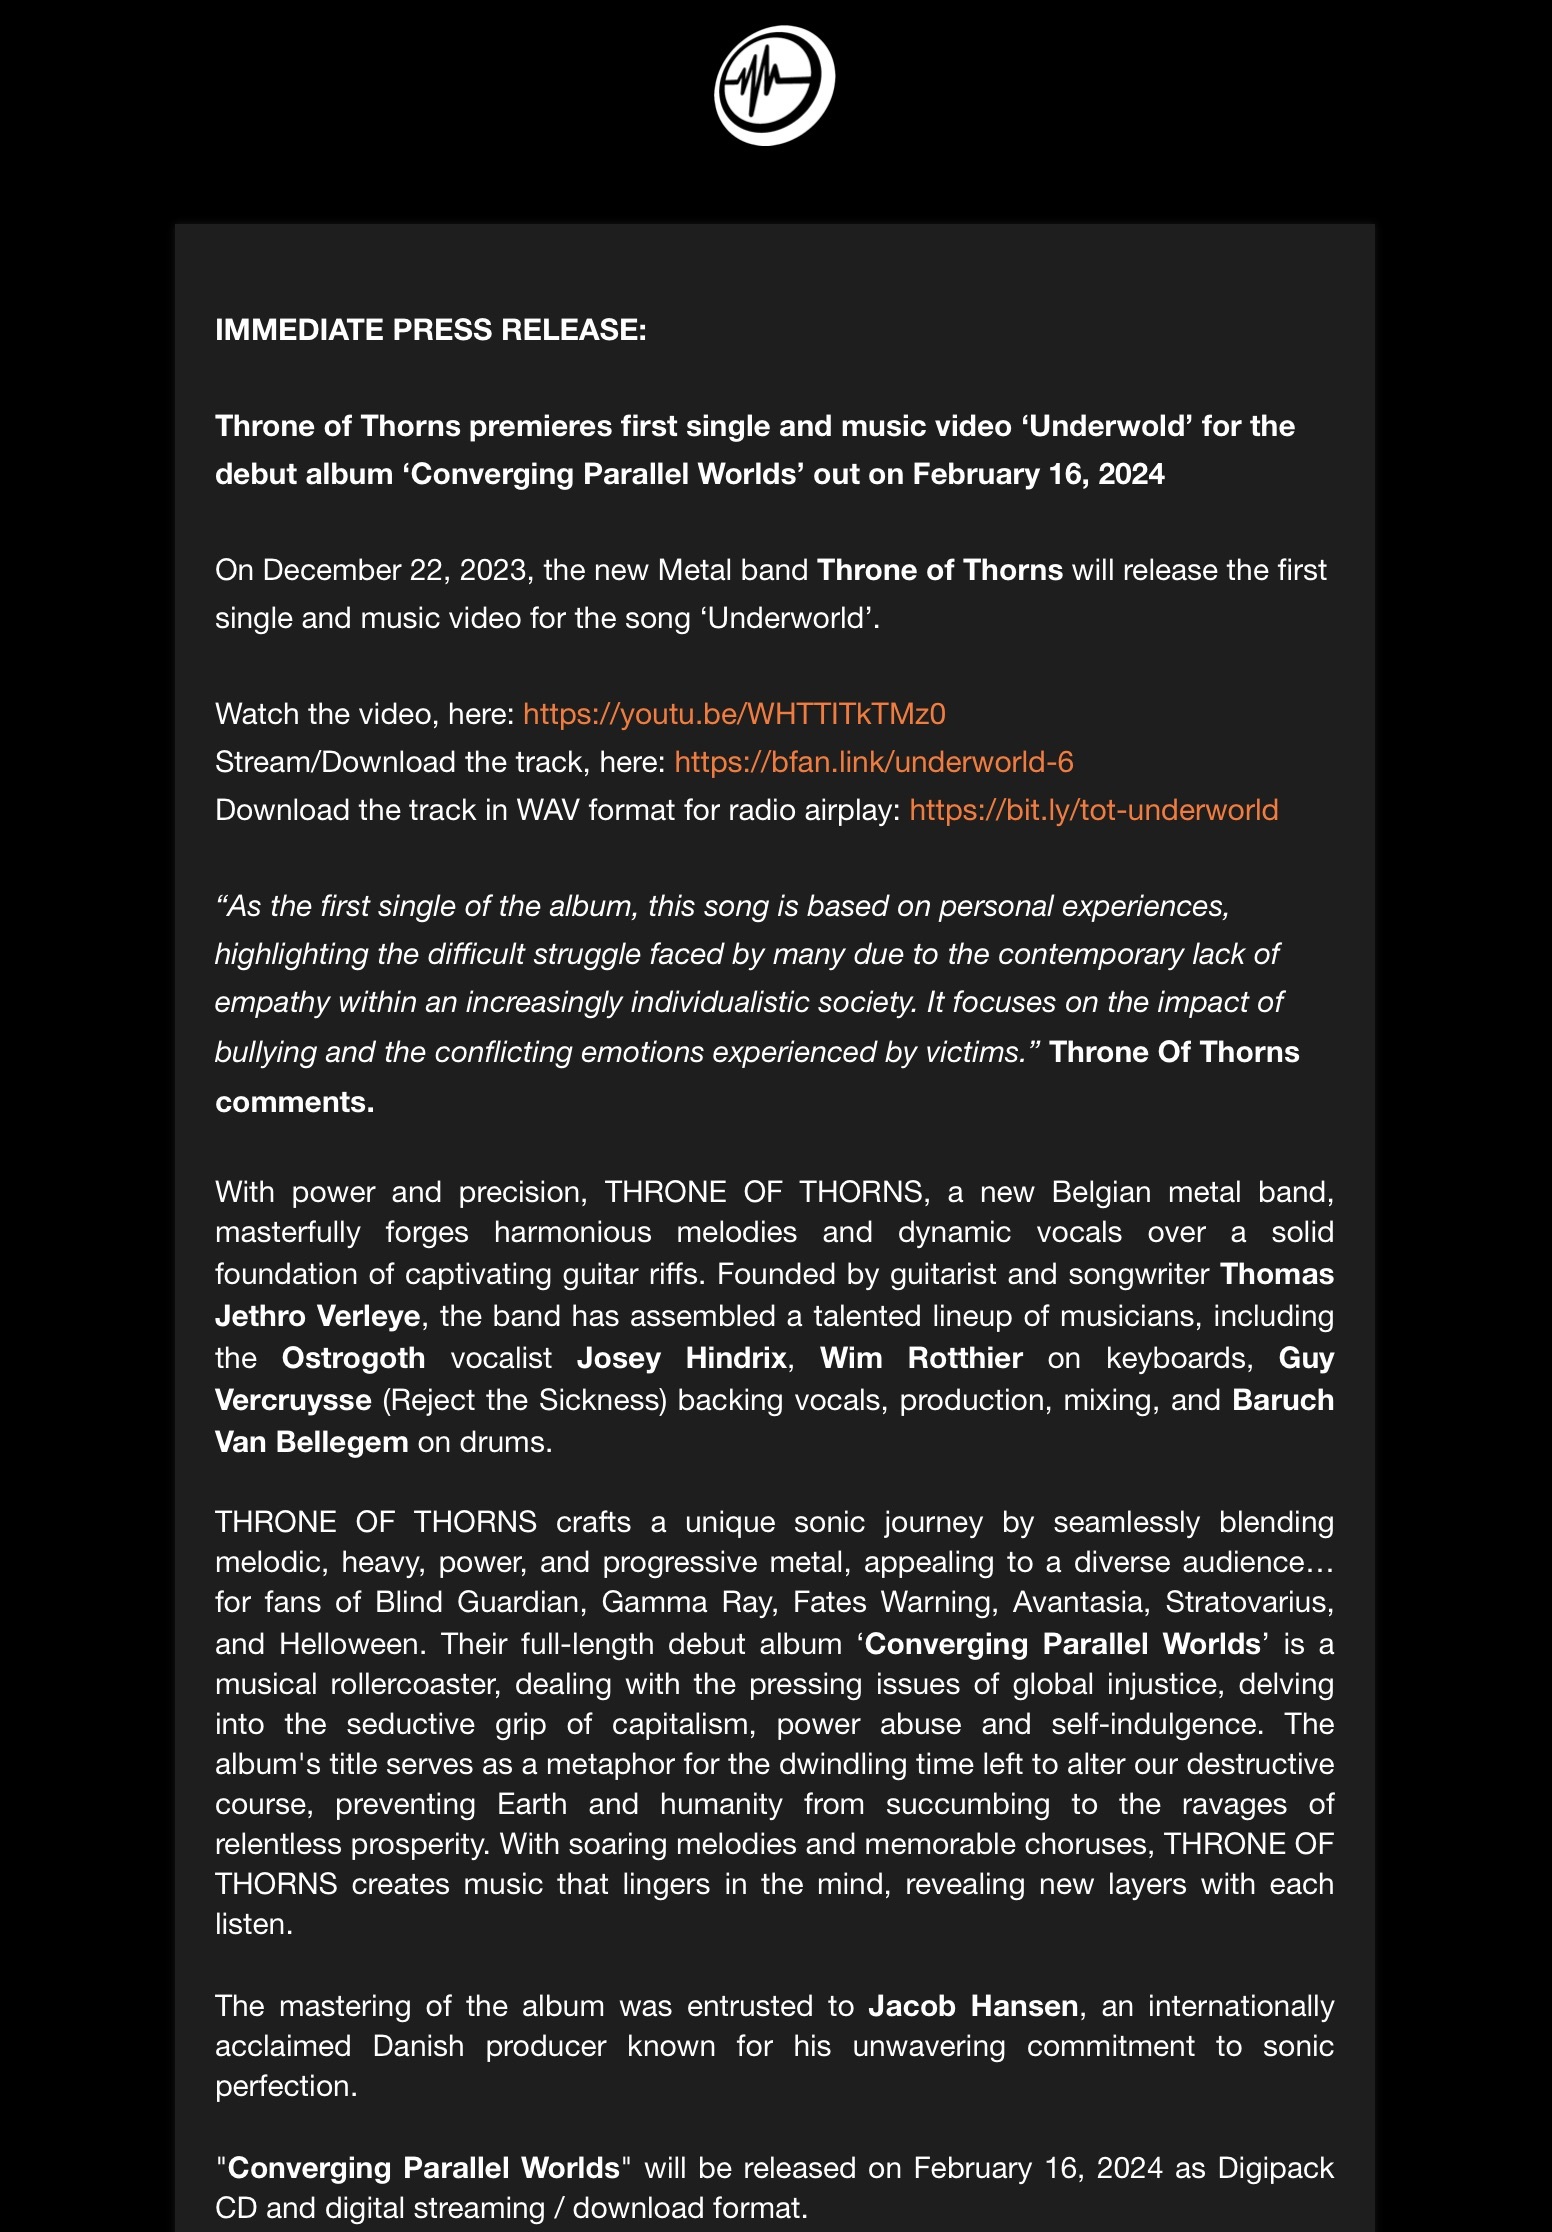
An example of a press release sent out using this method can be seen below:
PRESS RELEASE / INTRODUCTION TEXT:
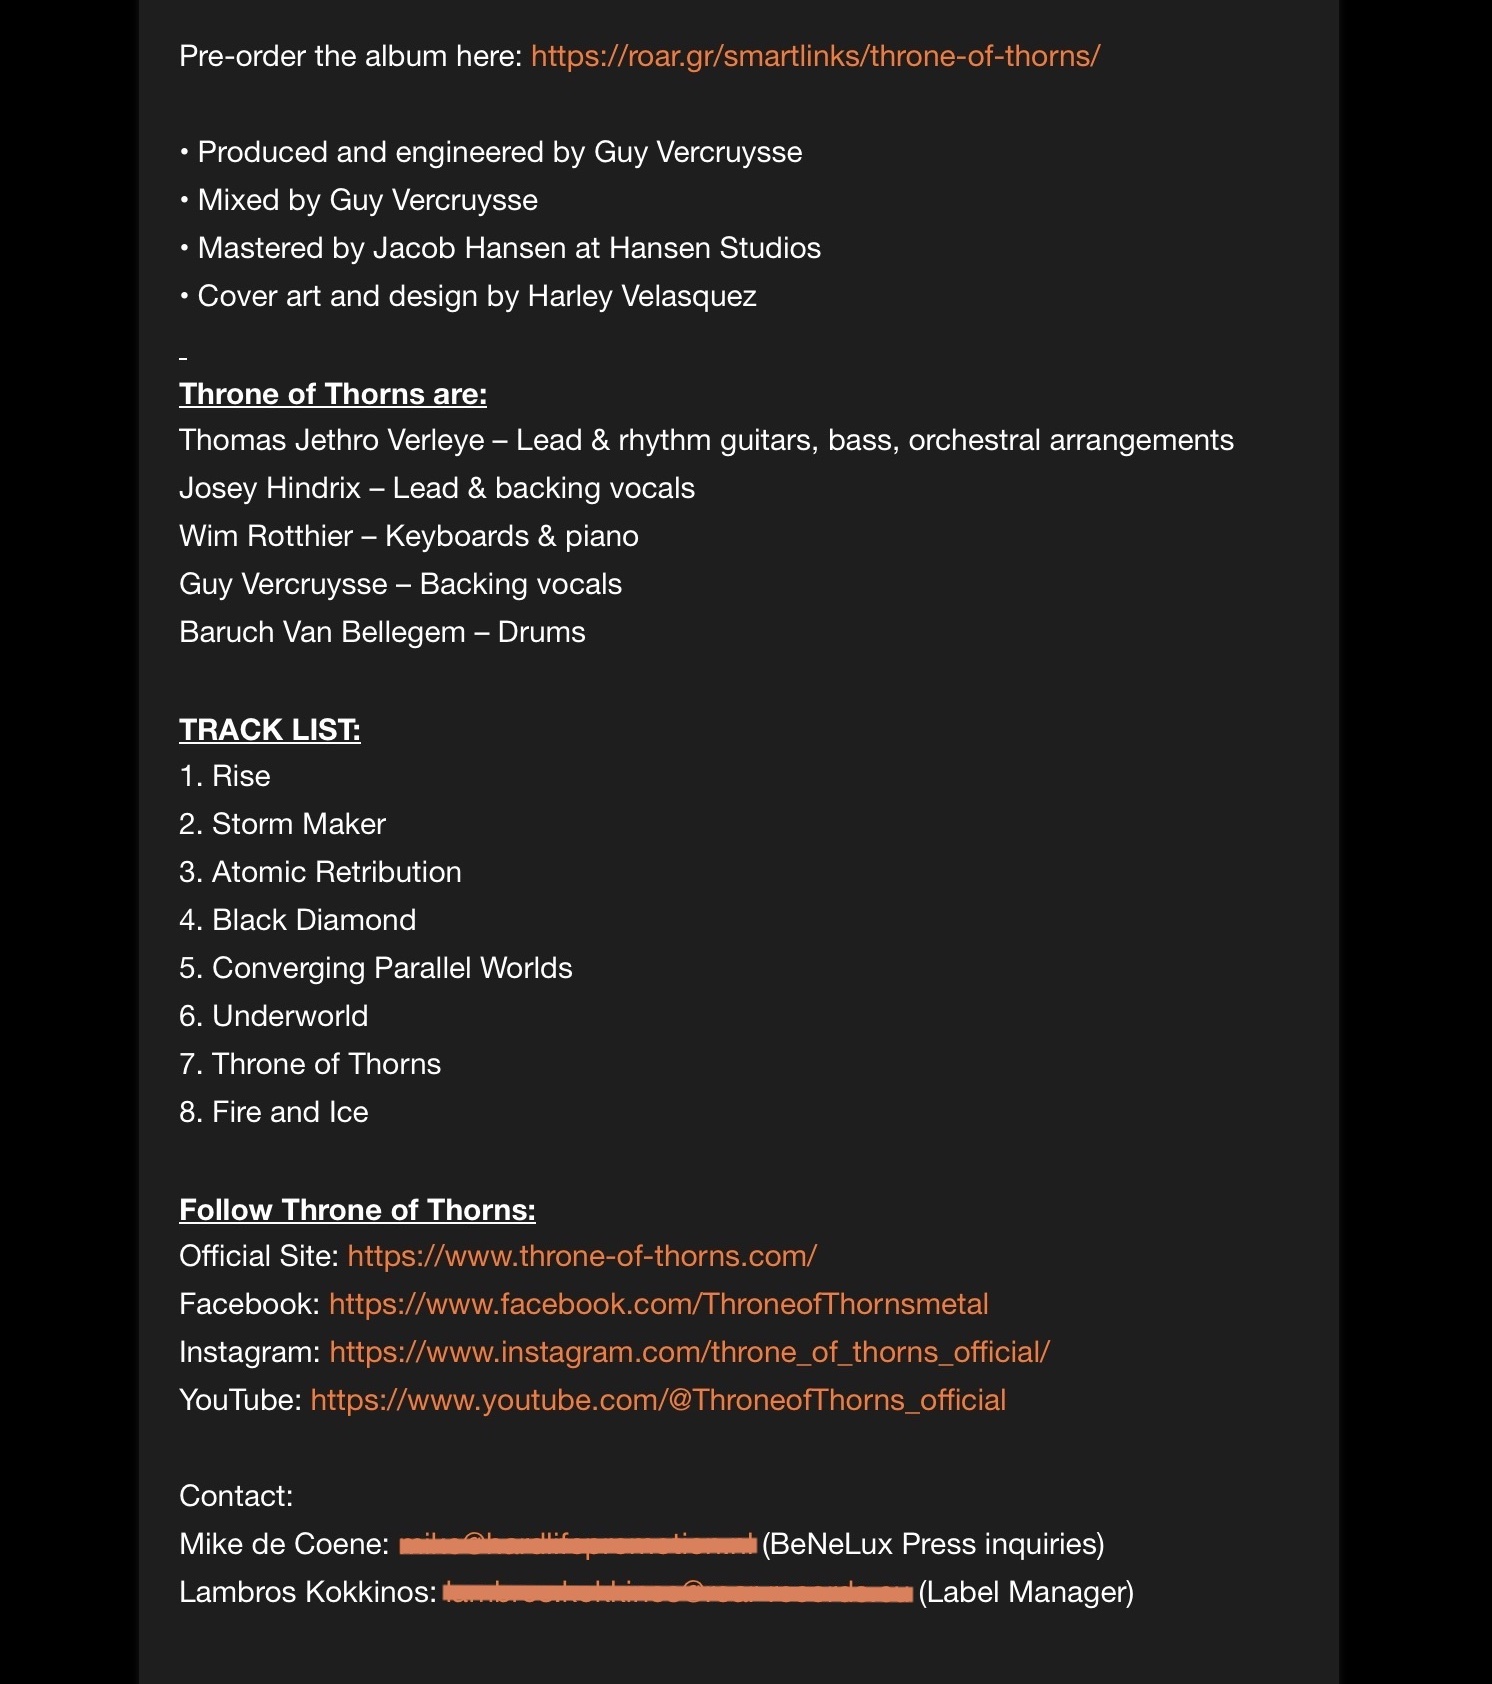
INFORMATION / DESCRIPTION TEXT: